Building your own Arcade Cabinet for Geeks - Part 4 - Sound and Lights
This is the fourth part of a multi-part series I'm going to do about assembling an Arcade Cabinet for my house. This series has two disclaimers:
Software Disclaimer 1: There's all sorts of legal issues around emulating arcade games. This series of posts has nothing to do with that. I do own some original arcade boards, but if you want to emulate arcade games with MAME (Multiple Arcade Machine Emulator), you can search the 'tubes. What I'm doing here is putting a computer in a pretty box.
Hardware Disclaimer 2: Many folks that build arcade cabinets have a purist view of how these things should be done. They will prefer original Arcade CRT monitors and more expensive, higher quality parts. I am more of a pragmatist. I also have no idea what I'm doing, so I've also got ignorance on my side.
The sounds and lights part was the easiest part of the whole thing so far. After the challenging control panel, this was a nice change of pace.
Sounds
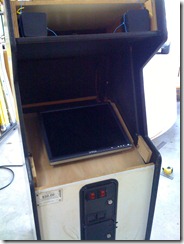
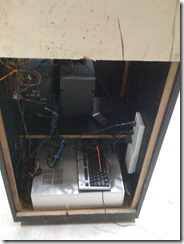
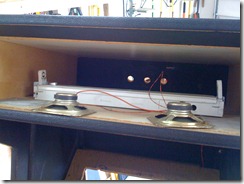
This was pretty straight-forward. There's a compartment at the top of the cabinet. I took some zip-ties and essentially lashed some computer speakers, facing down, to the sides of the inside of this area. There's speaker-shaped drilled holes in the bottom of the top, so the sound can get out. There's a subwoofer in very bottom of the machine, next to the computer.
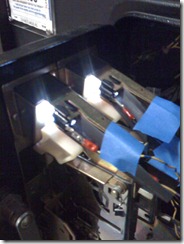
The speakers and sub were just old computer audio stuff I had lying around. I could have reused the tinny speakers that were already in it, but I wanted to punch up the sound a smidge. You can see the subwoofer in the right-hand side picture, sitting on a sturdy shelf, next to the coin collection box.
Cost: US$0 (Had speakers lying around.)Cost So Far: US$306
Now, lights.
Lights - Marquee
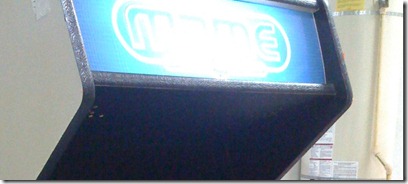
In the top compartment, we put in a small 18" florescent light tube. Then when we ordered the art from Scott at Mame Marquees, we made sure it was translucent and that he'd throw in the Plexiglas for free. I didn't want to cut any more of that again. :)
Then I threaded the AC cord and plug down the inside-back of the cabinet and plugged it into the smart Power Strip. This was clean, easy and had a big pay off. It looks bright in the picture because of the camera, but wait until the end. It looks niiiice.
Lights - Coin Door
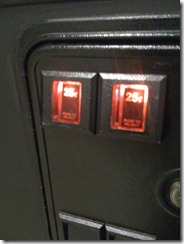
In every write-up of every Arcade Cabinet I've ever read, folks have fun doing the coin door lights. You can't have one of these without doing it. It's just required. It also requires some thought, which I forgot.
I started by going to Radio Shack and buying two random, but bright-looking LEDS. Then I tool an old USB cable, which I knew was 5 volts and I hooked it up directly to the LED. It was bright for about 5 minutes then died. Then I remembered I was an idiot. I was so excited I just went nuts and forgot about resistors.
I went to an LED Calculator and put in the source voltage, 5V, the LED voltage, 3.5V and their current, 20mA. There would be two LEDs, so it spit out this recommendation for two 82 ohm resisters in parallel.

I got my multi-meter out and found an 85 ohm resister I had lying around. I figured that was close enough. I busted out the soldering iron and got to work.
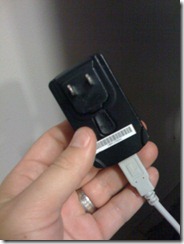
I plugged my old USB cable into an old cell-phone BlackBerry AC adapter that put 5V and .5A through the USB cable and there was light!
Cost: US$5 (Resisters, Solder, Random Radio Shackiness.)Cost So Far: US$311
Ok, time to paint.
Next Up: Paint and Art
- Cabinet and Power
- Monitor and Mounting
- Control Panel
- Sound and Lights
- Paint and Art
- Computer Hardware and Software
- Success and Conclusion
About Scott
Scott Hanselman is a former professor, former Chief Architect in finance, now speaker, consultant, father, diabetic, and Microsoft employee. He is a failed stand-up comic, a cornrower, and a book author.
About Newsletter

Comments are closed.