Using Visual Studio Code to program Circuit Python with an AdaFruit NeoTrellis M4
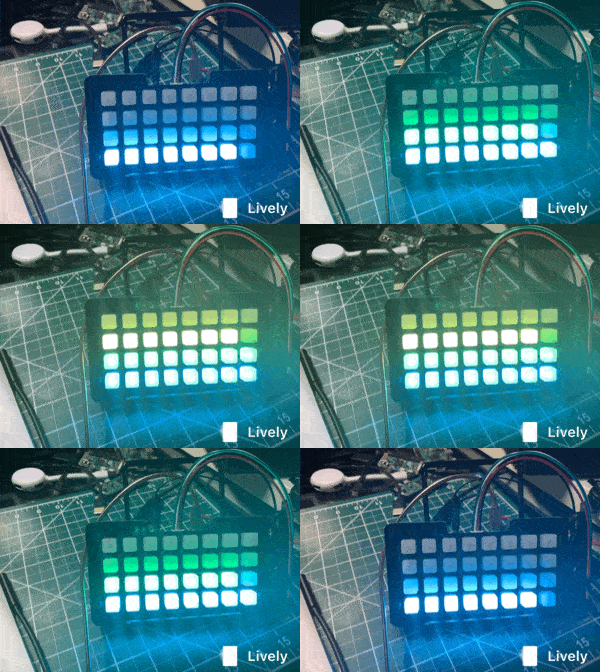
My son and I were working on an Adafruit NeoTrellis M4 Mainboard over the holidays. This amazing little device puts a NeoPixel + an Audio board + a USB port along with a 120 MHz Cortex M4 Core and a mic amplifier and you can program it with CircuitPython. CircuitPython is open source and on Github at https://github.com/adafruit/circuitpython. "CircuitPython is an education friendly open source derivative of MicroPython." It works with a bunch of boards including this NeoTrellis and it's just lovely for teaching and learning.
This item is just the mainboard! You'll almost certainly want two Silicone Elastomer 4x4 Pads and an enclosure to go along.
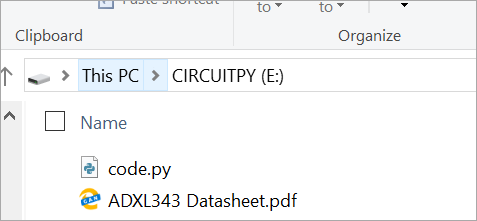
 As with a lot of these small boards, when you plug a NeoTrellis into a your machine via USB you'll get new disk drive that pops up. All you have to do to "deploy" your code is copy it to your drive. Even better, why not just edit the code place?
There's a great Python editor called Mu that works well with Circuit Python. However, my son and I are more familiar with Visual Studio Code so we wanted to see how it worked with Circuit Python.
We installed the Python extension for VS Code as well as the Arduino extension for VS Code and the Arduino IDE directly from the Windows Store.
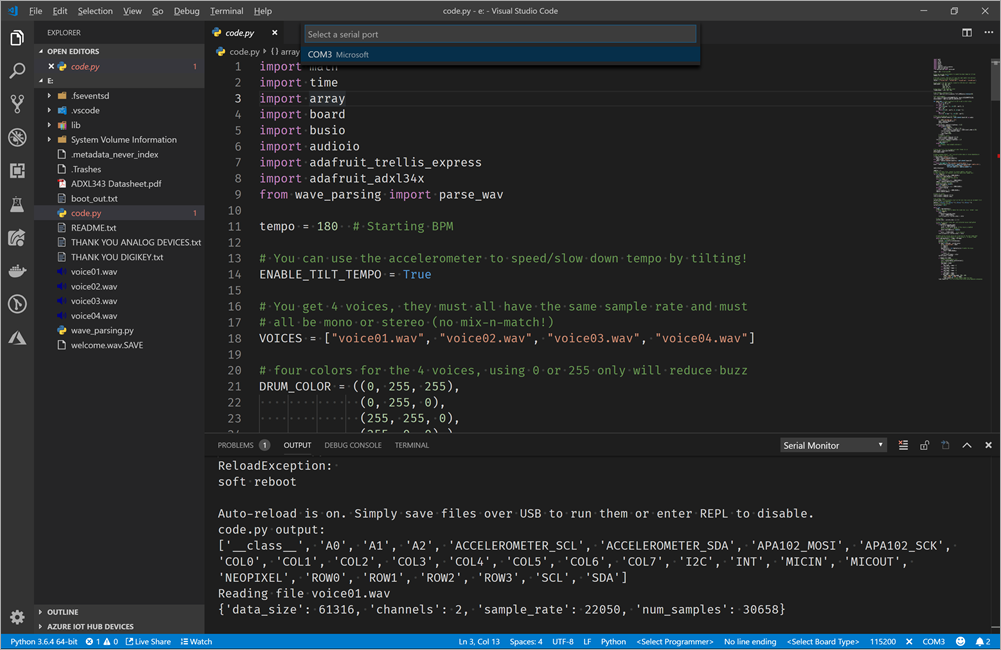
Fire up VS Code and File | Open Folder and open the Disk Drive of the NeoTrellis and open (or create) a code.py file. Then from the Command Palette (Ctrl-Shift-P) in VS Code select Arduino > Initialize. If you get an error you may need to set up the path to your Arduino IDE. If you installed it from the Windows Store like we did you may find it in a weird path. We set the arduino.path like this:
"arduino.path": "C:\\Program Files\\WindowsApps\\ArduinoLLC.ArduinoIDE_1.8.19.0_x86__mdqgnx93n4wtt"
The NeoTrellis M4 also shows up as a COM port so you can look at its Serial Output for debugging purposes as if it were an Arduino (because it is underneath). You then Arduino > Select a COM Port from the Command Palette and it will create a file called .vscode/arduino.json in your folder that will look like this:
{
    "port": "COM3"
}
 Now, within Visual Studio Code select Arduino > Open Serial Monitor and all of your print("") methods will output to that bottom pane.
Of course, we could putty into the COM Port but since I'm using this as a learning tool with my 11 year old, I find that a single window that shows both the console and the code help them focus, rather than managing multiple windows.
At this point we have a nice Developer Inner Loop going. That inner loop for us (the developers) is that we can write some code, hit save (Ctrl-S) and get immediate feedback. The application restarts when it detects the code.py file has changed and any debug (print) statements appear in the console immediately.

We are really enjoying this Adafruit NeoTrellis M4 Express kit. Next we're going to make a beat sequencer since the Christmas Soundboard was such a hit with mom!
Sponsor: Me! Hey friends, I've got a podcast I'm very proud of where I interview amazing people every week. Check it out at https://www.hanselminutes.com and please not only subscribe in your favorite podcasting app, but also tell your friends! Tweet about it and review it on iTunes/Google Play. Thanks!
About Scott
Scott Hanselman is a former professor, former Chief Architect in finance, now speaker, consultant, father, diabetic, and Microsoft employee. He is a failed stand-up comic, a cornrower, and a book author.
About Newsletter
Comments are closed.
